DANCE STUDIO MAKEOVER - PART 4, FLEXIBLE LIKE A DANCER
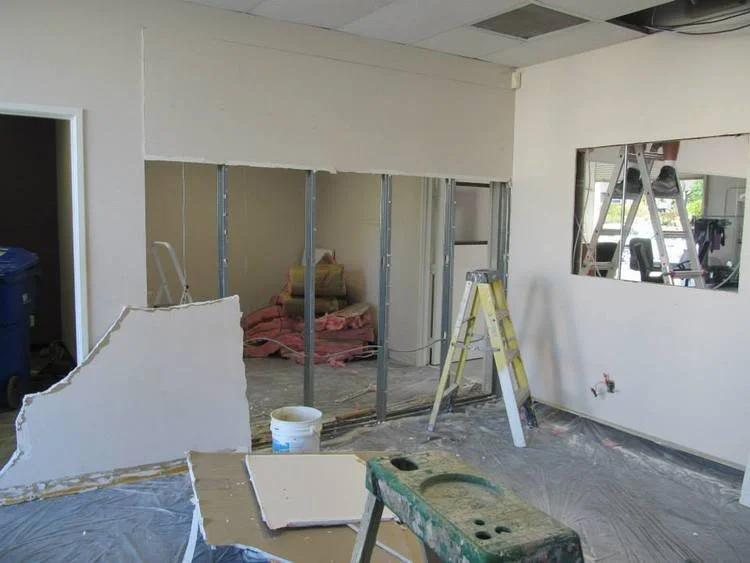
When we left the last dance studio design project blog, Katie had phoned me with a new concept in mind that would dramatically change the overall redesign: knocking down a wall. Originally we had assumed a structural change of this magnitude in their leased office space was beyond the project’s scope and budget, but when we took time to talk through its benefits, we knew we had to give this option serious consideration. Besides, I’ve always wanted to take a sledgehammer to a wall like we see on so many TV design shows, so secretly I was hoping this idea might work!
The space Lisa and Katie lease is made up of four main areas: a big studio, a smaller studio, a lobby and office space. None of the adjoining space in the strip mall where the studio is located is available for purchase. This means there’s no option for expansion and space is at a premium, so our plan needed to make the best use of every available inch.
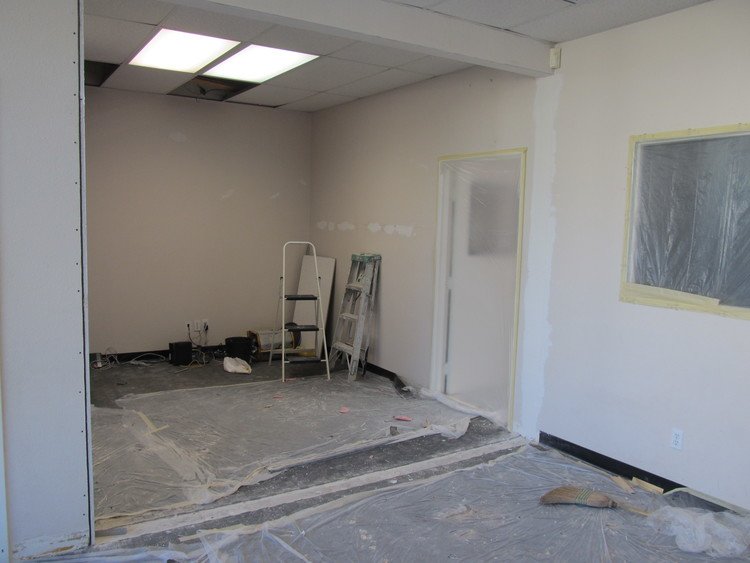
The new solution of taking down the wall that separated their office from the main lobby happened to be a great option!
Tearing down this wall allowed us to:
Expand the main lobby space allowing for more room for students and parents
Create a merchandizing area to better showcase the goods available for purchase
Centralize the receptionist area in the lobby for better access and flow
Move and close off Lisa and Katie’s office for more privacy
After we got together and discussed all the pros and cons of “going demo,” it was clear to see that it was the best choice if it could be done affordably. Lisa and Katie squeezed some extra money out of the budget and projected that the end result would be worth it, so the new plan was set to go!
I’d like to report that this strategic change was the only tough moment of the project and that everything else went smoothly. I’d like to but I can’t. You know from your own projects that between 3 and 30 things MUST go wrong with any sizable project. Not sure why that’s true, just know that it is. The important thing to keep in mind is to remain flexible and try to find ways to turn negatives to positives, whenever possible.
Our little “hiccups” included having to have a completely different floor installed from the one originally installed and issues with the alarm system, as well as some general timing issues, but in the end everything turned out fine as things usually do. So, when you have your own project hiccups, try to keep in mind that every problem has a solution; all you need to do is keep calm and stay focused on the end result.
In the final blog installment, I will share photos of the finished product as well as some of Katie and Lisa’s thoughts.
Now what will you do next to love where you live?


